Side-by-Side Quality Test: Which Free Pc Screen Recorder Delivers Zero Lag and Clean Audio?
 By David Miller
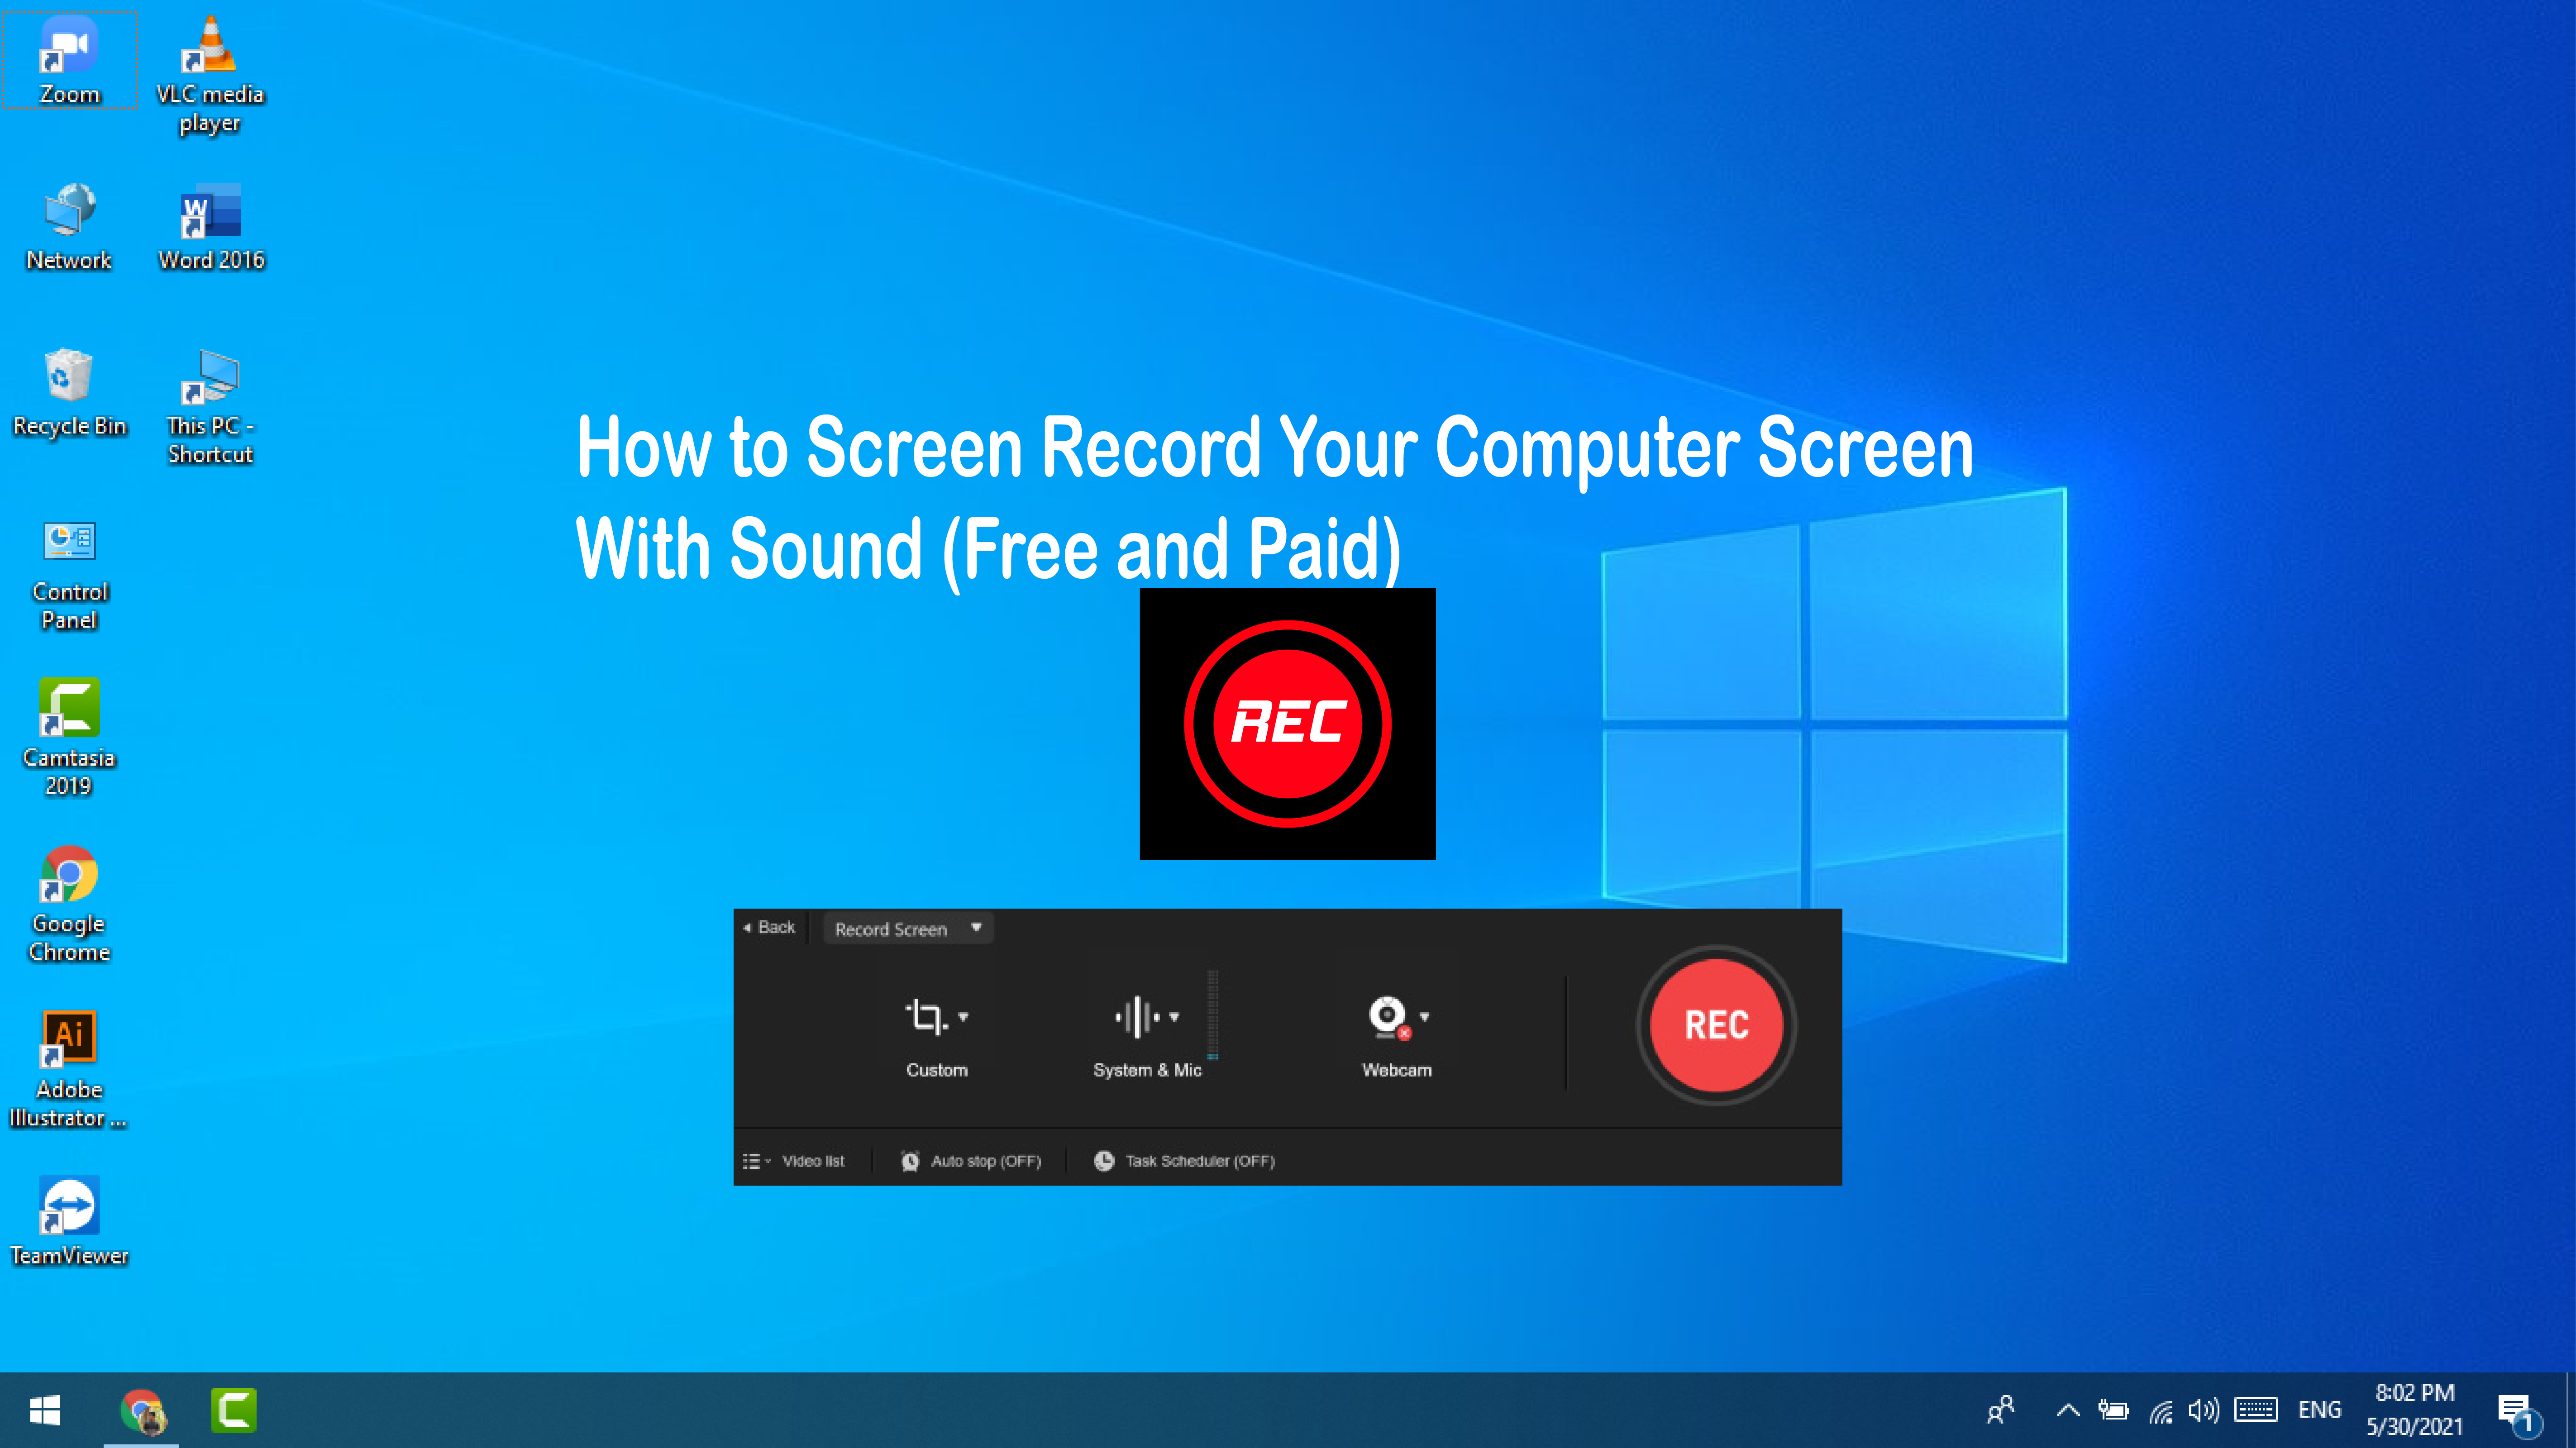
When your workflow demands uninterrupted full-screen captures, separate audio channels, and near-lossless video quality, setting up OBS Studio is essential. The open-source tool eliminates third-party trial watermarks, time limits, and aggressive compression algorithms.
Achieving lag-free performance requires adjusting three fundamental settings:
- Select Hardware Encoding: Open Settings > Output, switch Output Mode to Advanced, and set your Recording Encoder to your GPU platform (NVIDIA NVENC H.264 / AV1 or AMD HW H.264 / AV1). Hardware encoding removes video processing stress from system RAM and CPU threads.
- Apply Constant Quality Targets: Avoid Constant Bitrate (CBR) streaming profiles for local desktop capture. Choose CQP (or CRF for software encoders) and set the CQ Level between 16 and 20. This instructs the encoder to assign data dynamically based on screen complexity, ensuring crisp text and flawless gradients without bloating file sizes.
- Calibrate Audio Sync Offsets: Navigate to the Audio Mixer, click the cog icon, and open Advanced Audio Properties. If your USB microphone setup experiences processing latency, you can assign an exact millisecond sync offset to lock your spoken voice directly to system sound effects.
Choosing the Display Capture source within your OBS scene captures your entire desktop, including nested dialog boxes and hotkey combinations. Enabling the Windows Graphics Capture method inside Display Capture properties guarantees smooth recording on Windows 11 while bypassing legacy black-screen capture bugs.
David Miller brings 15 years of experience in global economics, personal finance strategy, and market dynamics. He specializes in turning complex economic trends into actionable insights for everyday readers.
