How Windows 11 Updated Screen Recording: from Snipping Tool Video to Native Audio Capture
 By Maya Lin-Takahashi
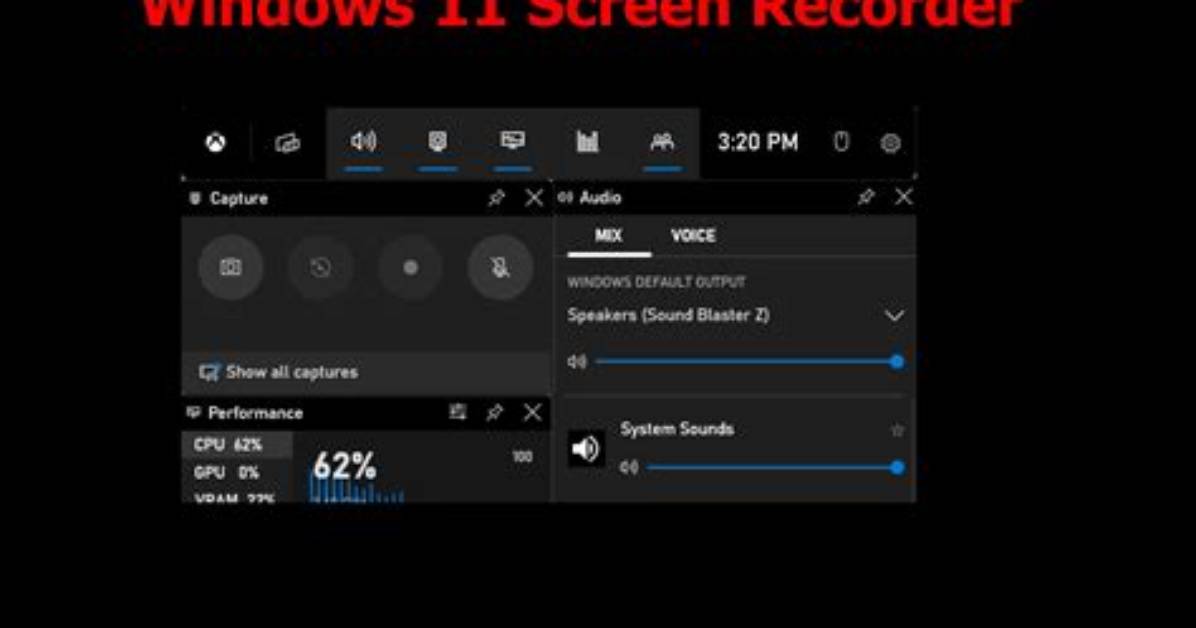
Keeping disk storage organized requires knowing where Windows saves your raw footage. Files captured through the Xbox Game Bar land automatically inside the system Videos directory, mapped to C:\Users\[Username]\Videos\Captures. This folder quickly consumes tens of gigabytes if left unchecked, especially when background recording features remain enabled.
The Snipping Tool behaves differently. When you stop a video capture, the utility buffers the video in memory and displays a preview window. The file does not permanently commit to disk until you click the save icon or hit Ctrl + S, which defaults to the system Videos folder while allowing you to choose an alternate destination. Windows also caches temporary auto-saved drafts in the user app data structure, preventing accidental data loss if you close the preview window unintentionally.
For high-resolution work, redirecting these default destinations to a dedicated, high-speed secondary NVMe drive prevents write-caching bottlenecks. Moving the standard user library path ensures that massive capture files do not crowd your primary system drive or degrade operating system performance.
Maya is a hardware enthusiast who tests and reviews smart home devices, smartphones, wearables, and audio gear. She focuses on practical consumer value and build quality.
